

If you’re experiencing issues like stick drift or any malfunctions with your controller, you only have to take it apart, clean it, and reassemble it. This helps you maintain, repair, or customize your gaming controller. Trust me, if you have basic knowledge, you can easily resemble and disassemble your controller at home with simple tools.
So, keep on reading the article to learn about the steps you need to follow to take apart an Xbox One controller.
Tools You Will Need
To take apart an Xbox One controller, you’ll need a few essential tools:
- T-8 safety Torx
- Prying tool (preferably plastic)
- Plastic spudger
- Torx 6 screwdriver
- Optional: Flathead screwdriver
Read More: Complete Guide to Preload Diablo 4 Xbox
Setting Up Your Workspace
Before you start disassembling your Xbox One controller, you must prepare a suitable workspace. For this, you will need a clean, well-lit, and comfortable area without distractions. Then, organize your tools systematically to start a smooth disassembling process.
Step-by-Step Guide
Part 1: Removing the Plastic Covers
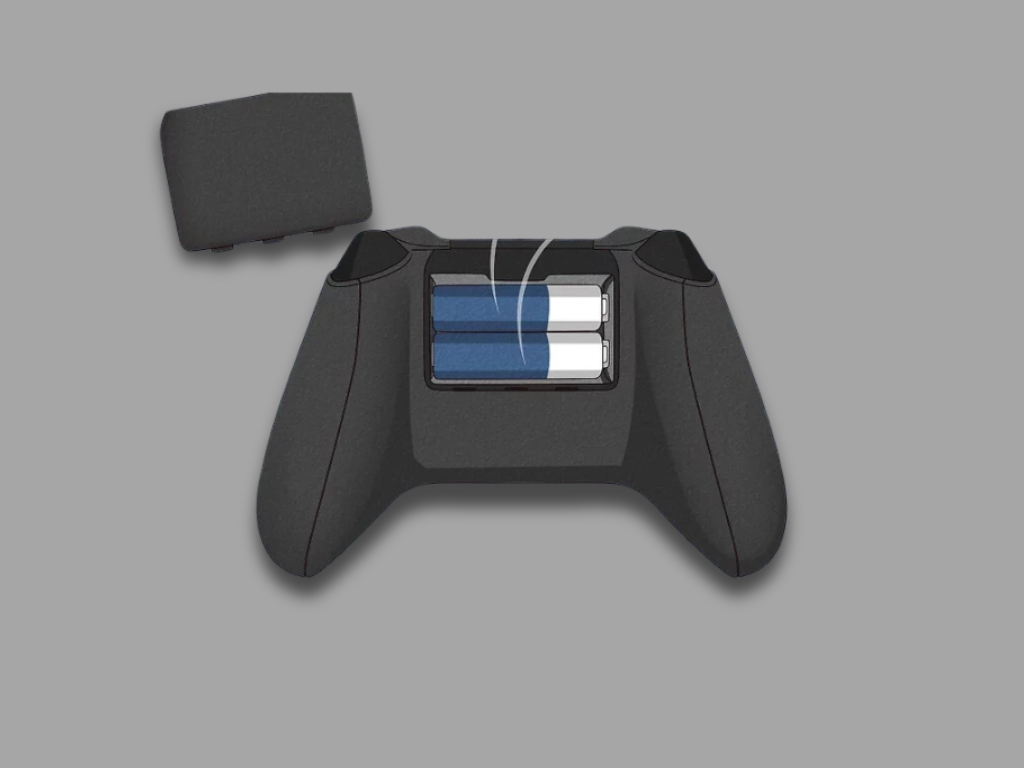
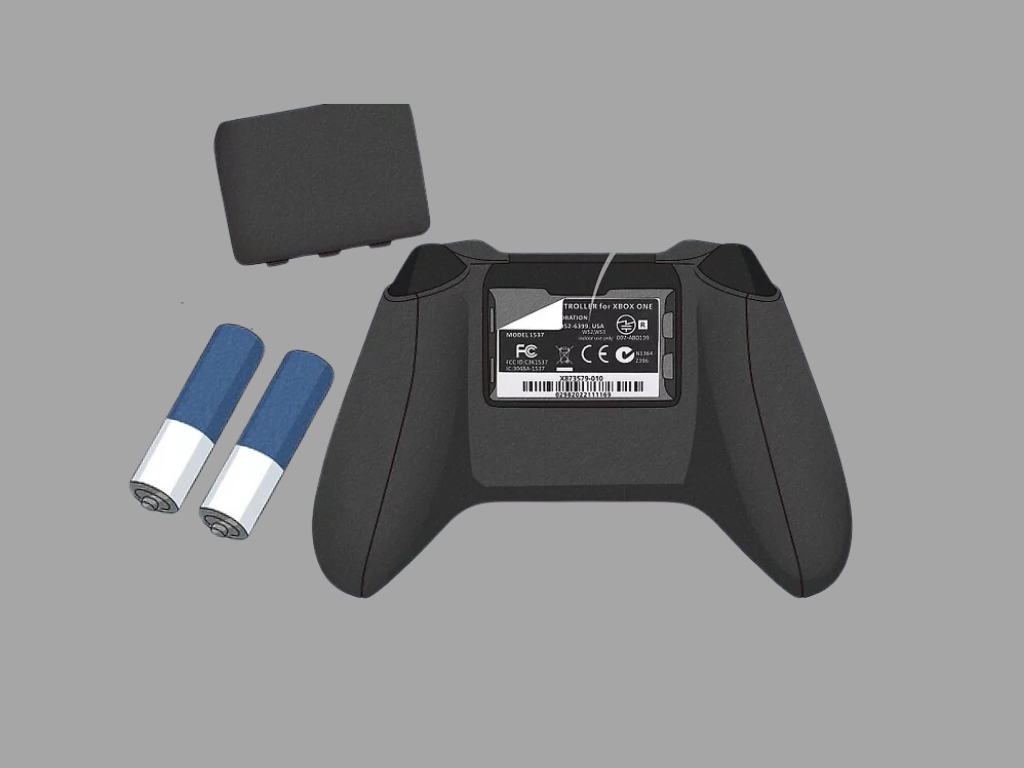
Remove the Batteries
Flip the Xbox One controller over and open the battery compartment on the back. Take out the two AA batteries to ensure there’s no power running through the controller.
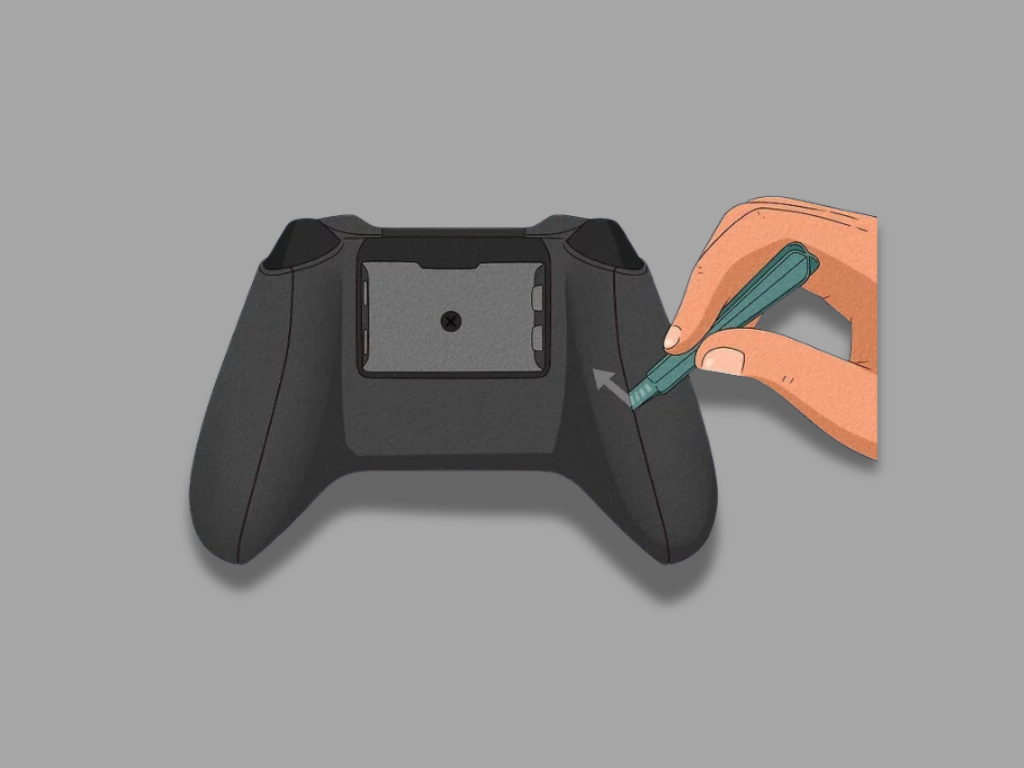
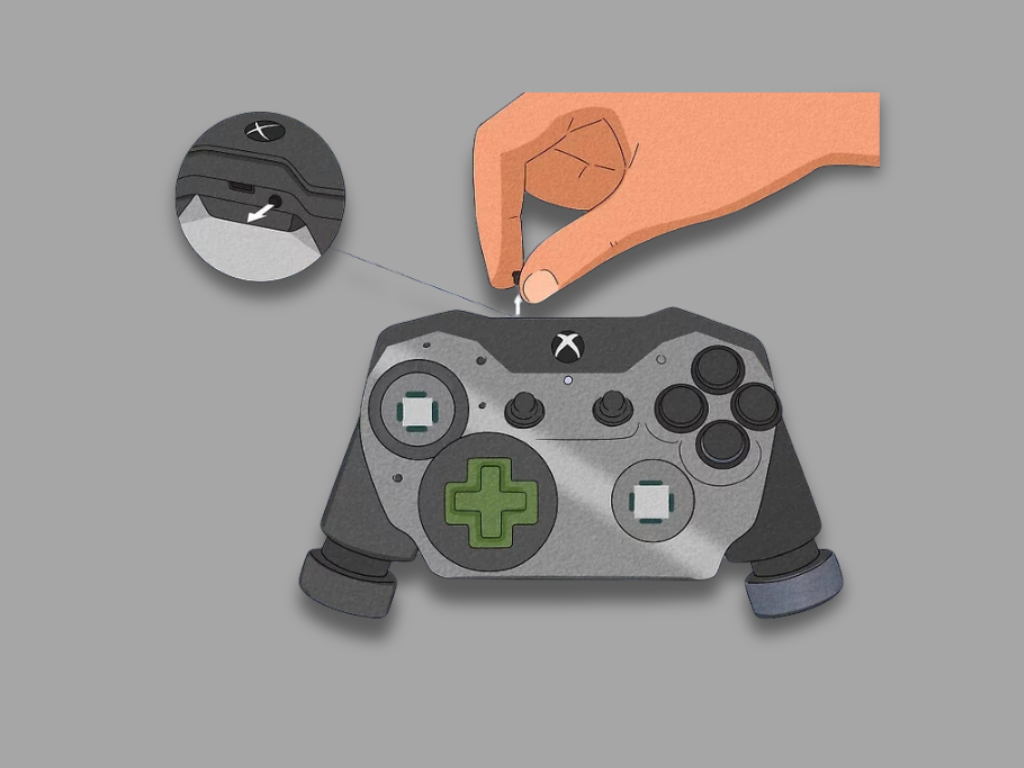
Remove the Sticker from the Battery Compartment
Inside the battery compartment, there is a sticker that covers a hidden screw. Use your prying tool to lift and remove it.
Remove the Plastic Covers on the Backs of the Handles
Use a plastic spudger or a similar tool to take off the plastic covers on the backs of the handles. Slide it around the crease to lose the plastic covers. Then, remove the panels from both handles. Do it patiently to avoid damaging the plastic.
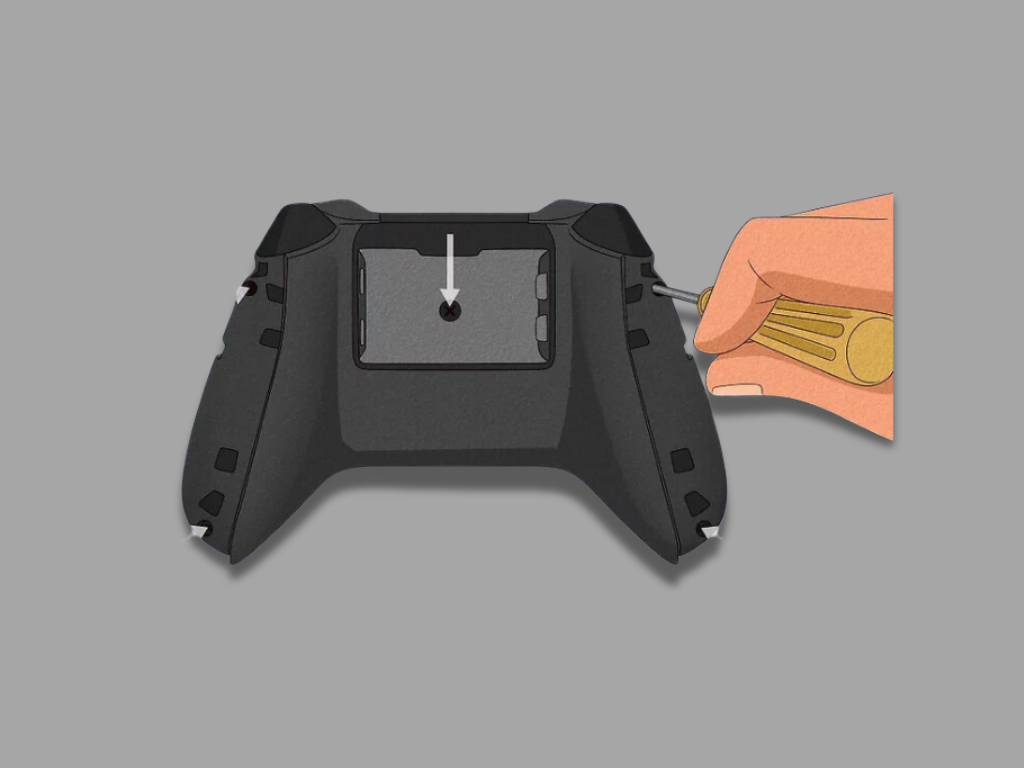
Remove the Screws from the Back of the Controller
The T-8 safety Torx screwdriver is used to unscrew the 5 screws from the back of the controller. There are two screws at the bottom and tops of the sides below the plastic panels, and one screw in the center of the battery compartment. Keep these screws safe in a container.
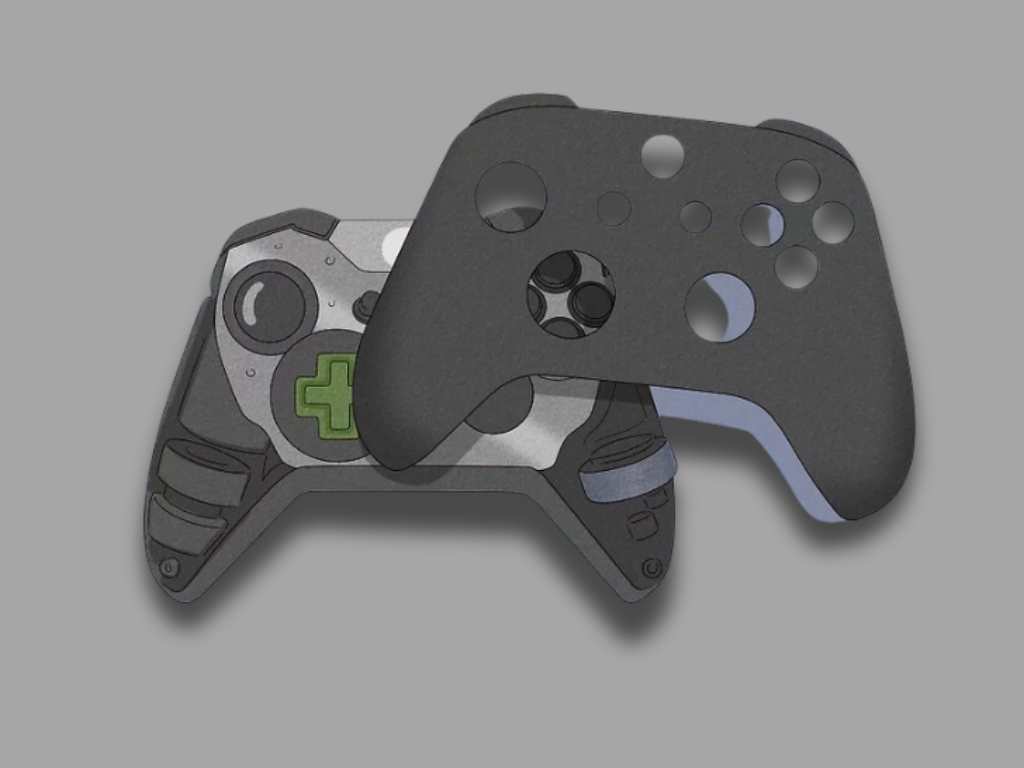
Remove the Faceplate
Once the screws and back panels are removed, the plastic faceplate on the front of the controller should slide off easily. Use your fingertips to gently remove it. This reveals the internal components of the controller.
Remove the Back of the Controller
Turn the controller over and gently wiggle the remaining plastic cover on the back loose. Lift it away from the controller. This step should be done carefully to avoid breaking any clips.
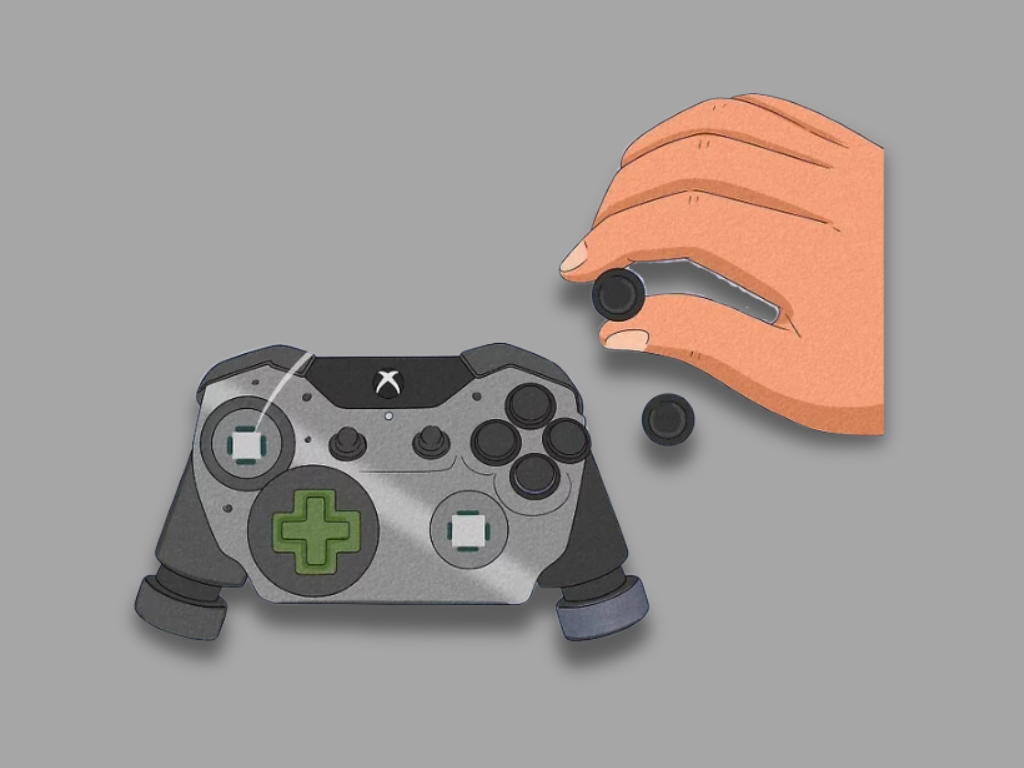
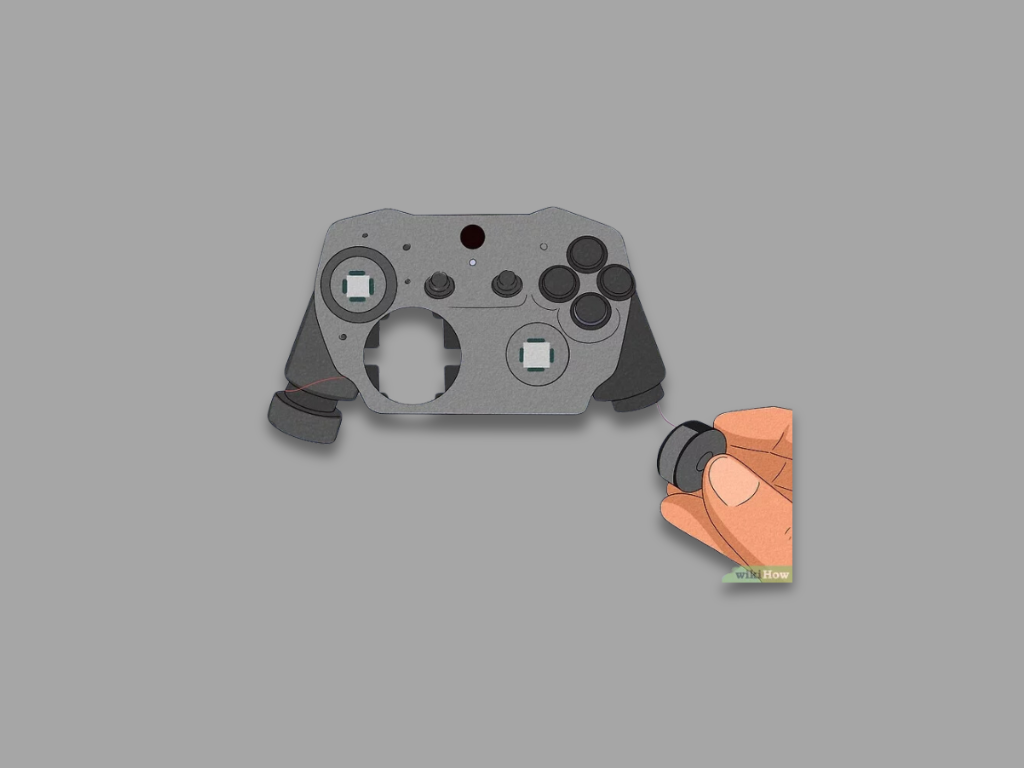
Remove the Rubber Thumbsticks
Grab the rubber thumbsticks and pull them off. Without the faceplate, they should slide off easily. This step is simple but important for accessing the underlying components.
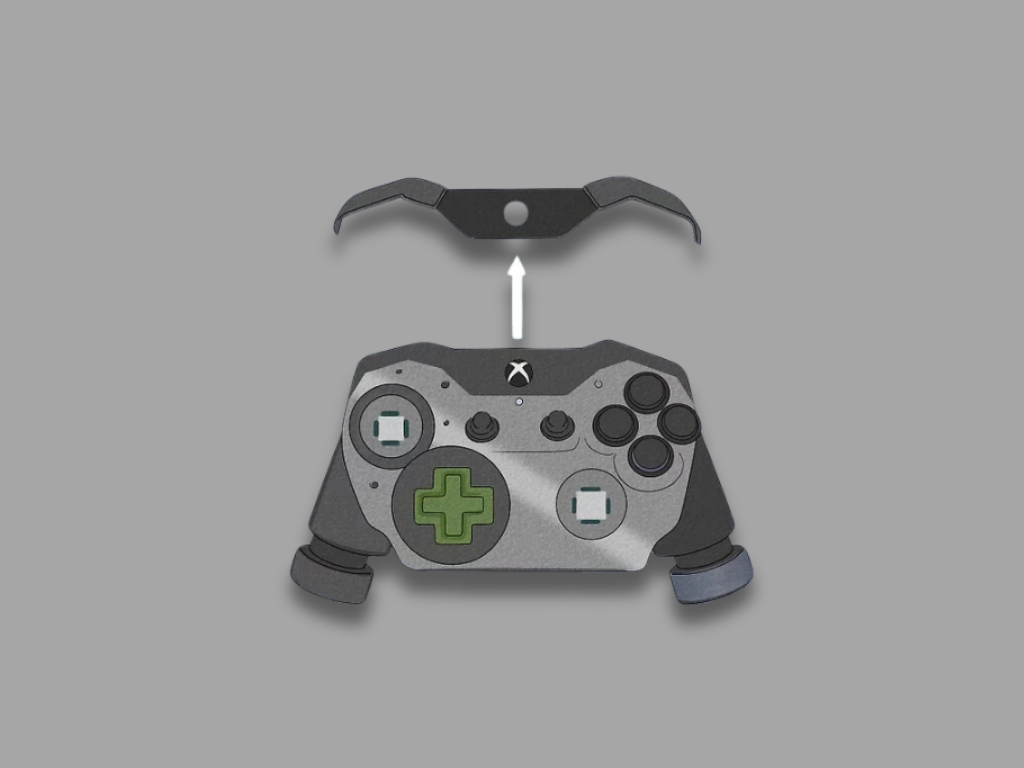
Remove the Top Cover
Use a flathead screwdriver to gently pry the top plastic panel near the top, between the two buttons in the center of the controller. Remove it with your fingertips. This allows access to the internal circuit boards.
Part 2: Removing the Circuit Boards and Buttons
Remove the Wireless Connect Button
With the top cover removed, easily pull off the wireless connect button from the top center-left of the controller. This button is usually simple to remove.
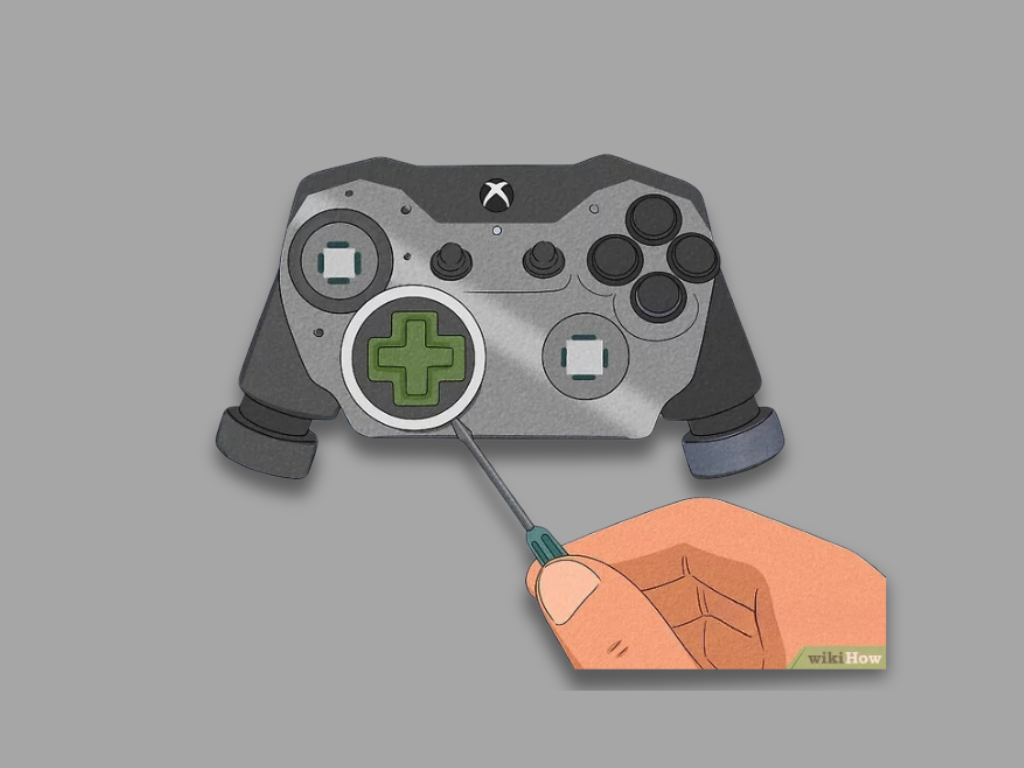
Remove the D-pad
Use a flathead screwdriver to pry loose the metal ring around the D-pad. Then pull apart the plastic D-pad button. This step may require a bit of force but should come apart without much trouble.
Remove the Motors (Optional)
The motors are attached to the bottom board by wires. To remove them, desolder the wires from the bottom board. Lift the motors out of their case if necessary. This step is optional and requires soldering skills.
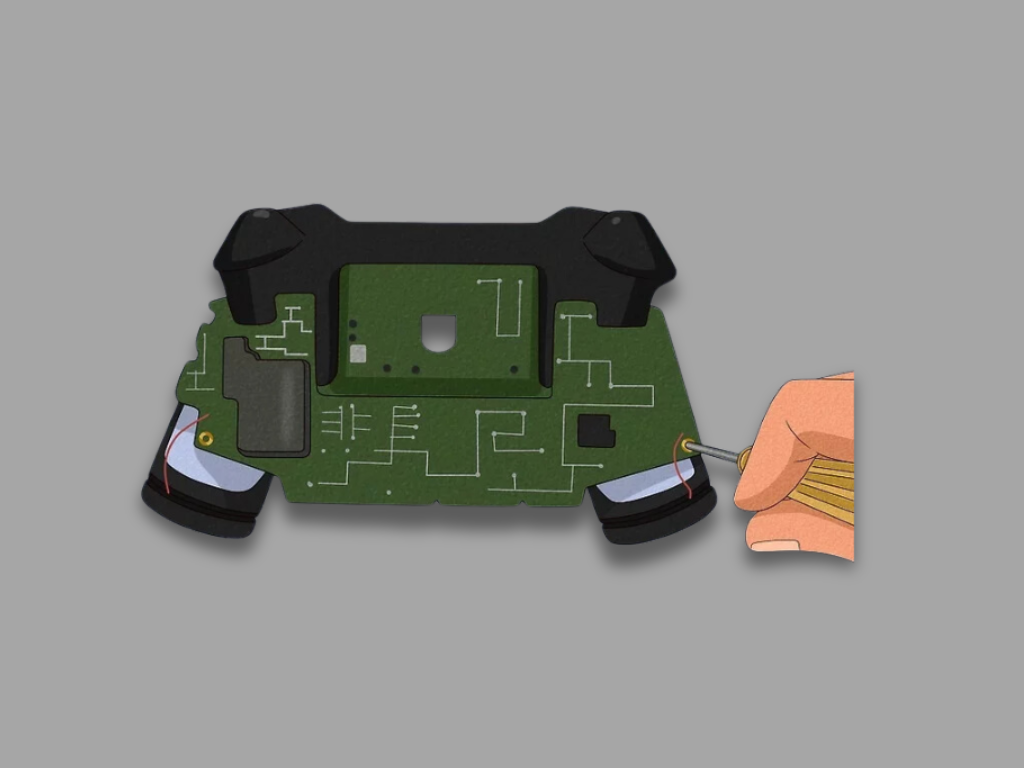
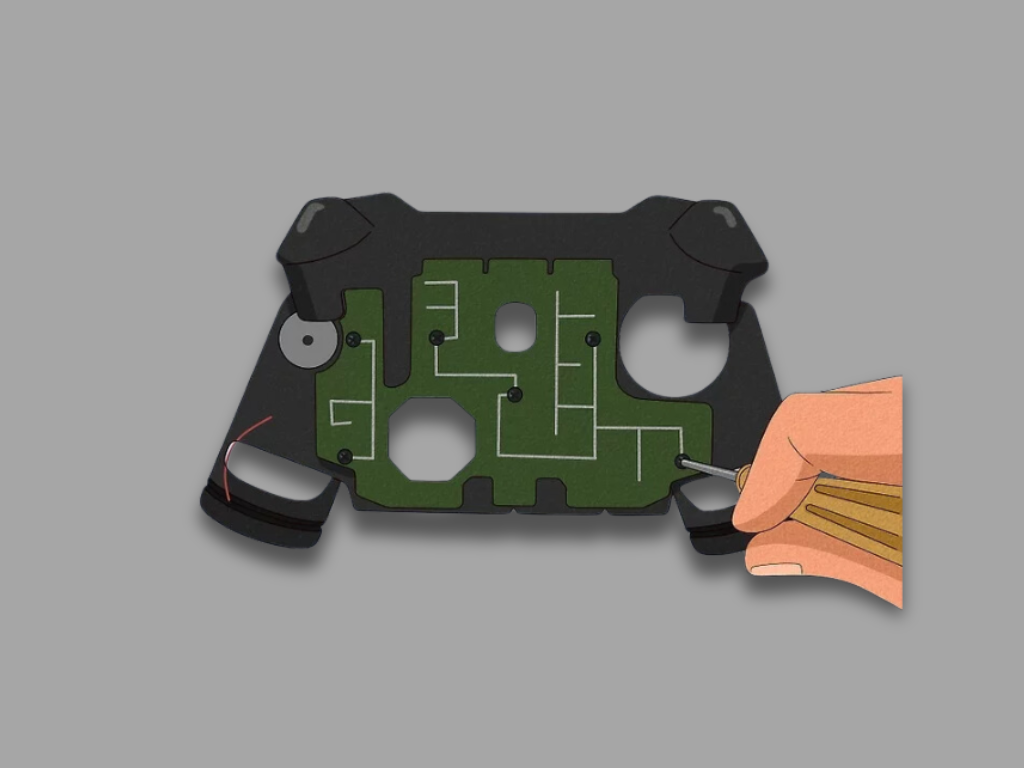
Remove the Screws from the Bottom Board
Use a Torx 6 screwdriver to remove the two screws holding the bottom board in place. Place these screws in a safe container to avoid losing them.
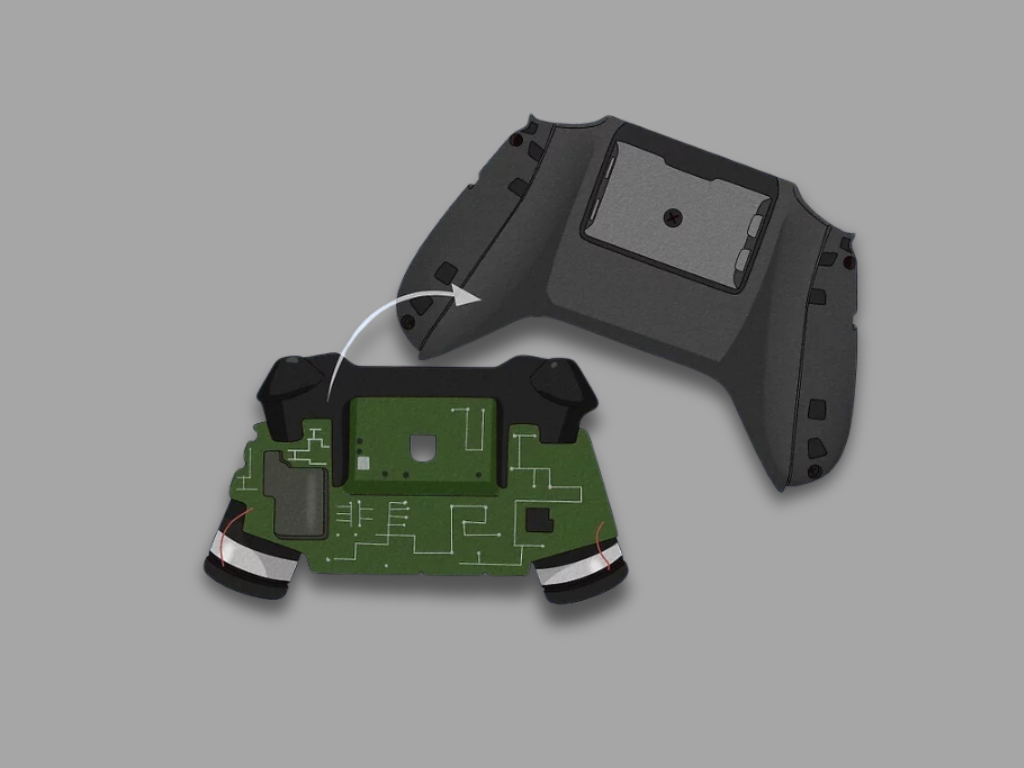
Remove the Bottom Board
Gently wiggle the bottom board loose and lift it out of the controller case. Be careful if the motors are still attached. This step should be done with patience to avoid damaging any components.
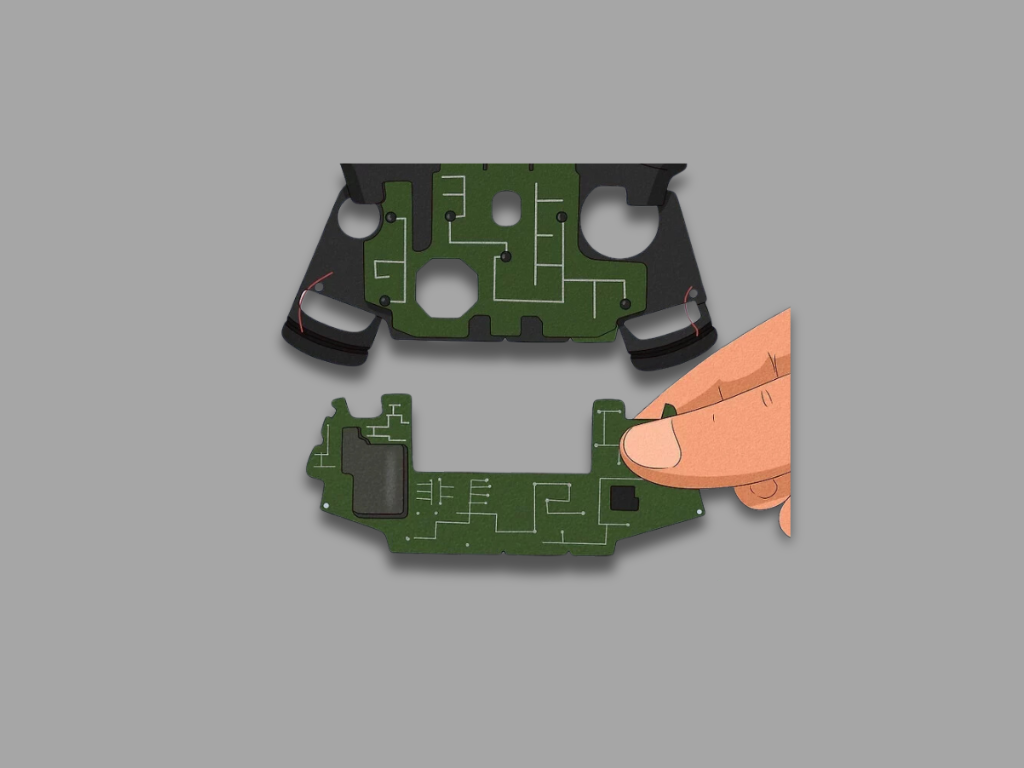
Remove the Screw from the Motherboard
Use a Torx 6 screwdriver to remove the single screw from the back of the motherboard. This screw is crucial for removing the motherboard safely.
Remove the Motherboard
Lift the motherboard out, grabbing the edges with your fingertips. Now you have access to all components on the boards. Handle the motherboard by its edges to avoid damaging sensitive parts.
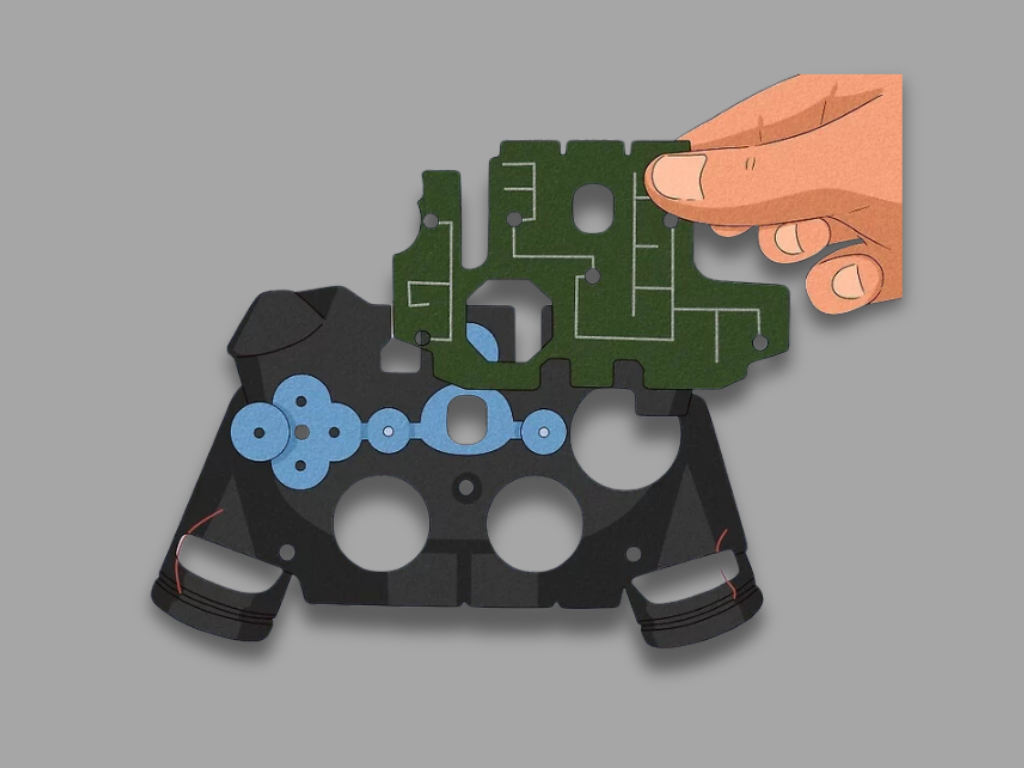
Remove the Rubber Button Connector
Lift the rubber button connector out of the case. This component is essential for the buttons’ functionality.
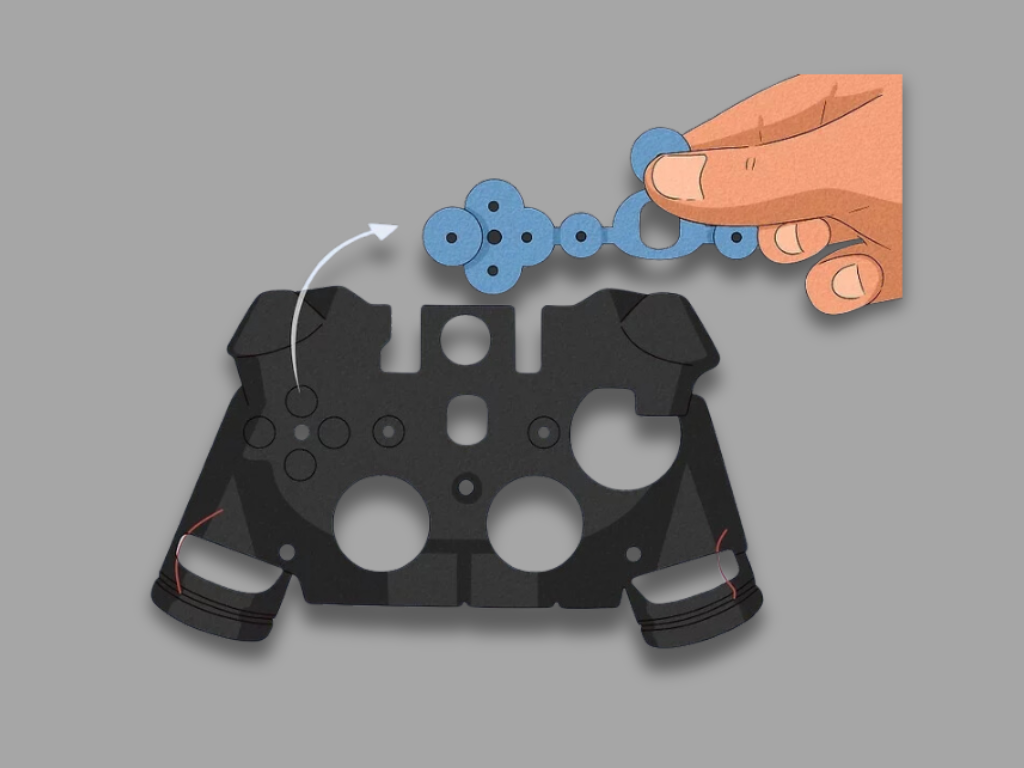
Remove the Buttons
Flip the controller case over, and the buttons will fall out. This step is straightforward but crucial for accessing all internal components.
Cleaning and Repairs
Once disassembled, you can clean or replace components as needed:
Cleaning
Use compressed air to remove dust and debris. For stubborn dirt, use a cotton swab dipped in rubbing alcohol or a clean pencil eraser.
Repairs
Some issues like stick drift can be fixed by turning the black plastic piece on the side of the joystick module. More complex repairs, like replacing the USB connector or headphone jack, may require soldering skills.
Reassembly Tips
To reassemble the controller, reverse the disassembly steps carefully. Start by placing the cleaned or new components back into their respective spot within the controller shell. Make sure all screws are securely fastened using the Torx 8 and Torx 6 screwdrivers. As you reassemble, check that all clips align properly to avoid any gaps in the controller shell. Once all components are back in place, insert fresh batteries and replace the battery cover securely.
Conclusion
Opening and reassembling an Xbox One controller helps you clean, repair, or customize your controller according to your needs. Just by following the simple steps mentioned above, you can keep your Xbox One controller in top condition for a better gaming experience. This regular maintenance helps you improve your controller’s performance and improve its lifespan. However, you need to understand the right use of tools to get favorable results.